
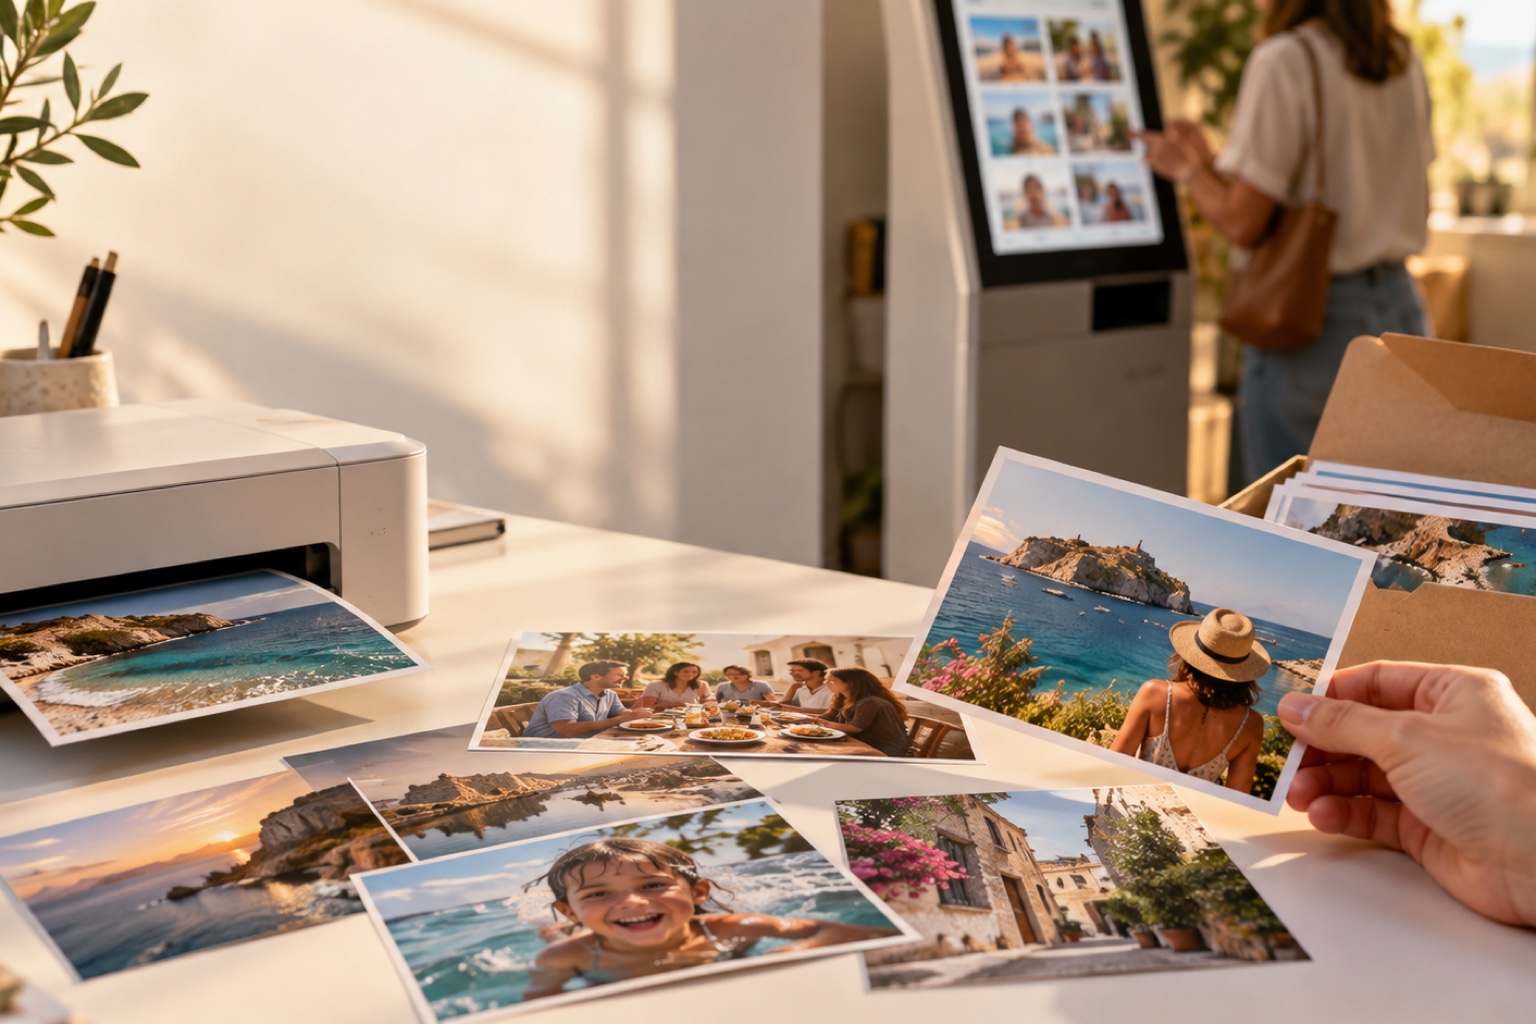
How to print your summer photos
How to print your summer photos: home printer, kiosk or professional lab?
A photograph feels different when you can hold it.
After a holiday, family gathering or busy season of client work, it is easy to leave hundreds of images sitting on a memory card or hard drive. Printing asks you to make a few decisions: which moments matter, how large they should be and where they belong. You have three practical ways to turn those files into physical photographs. You can print them at home, use an automated photo kiosk or send them to a professional lab. Each option has a place, and the most expensive one is not always the right choice.
Choose the photograph before choosing the printer
Start with a tight selection. A set of 15 photographs that tells the story of a trip will usually be more enjoyable than an album filled with 150 near-duplicates. Look for variety. Include the wide photograph that establishes the location, closer portraits, small details and a few unplanned moments. If you photographed an event for a client, think about how the images work together rather than judging each file in isolation. Pay attention to who appears in the selection too. Photographers have a habit of documenting everyone except themselves. A summer album feels more complete when the person behind the camera is part of the story. Once you have made your selection, decide what each print is for. A photograph for a desk frame has different requirements from a large wall print. A family album, a client proof set and a fine art print also call for different paper, preparation and production methods.
Prepare your files for printing
A good print starts with a properly prepared file. The following checks apply whether you print at home or send the photograph elsewhere. Work from the original file Use the full-resolution edited photograph rather than an image downloaded from social media or sent through a messaging app. Online platforms often resize or compress photographs, which can remove detail that becomes visible in print. Save a separate print version so you can crop, resize and sharpen it without changing your master file.
Crop for the actual print size
Print formats do not all share the same proportions. A 10 × 15 cm or 4 × 6 inch print has a 3:2 aspect ratio. An 8 × 10 inch print uses 4:5. Moving between those formats can cut away part of the photograph. Check the crop yourself before ordering. Do not assume that an automated printer or lab will know which edge of the image matters most. Leave some room around faces, hands, text and other important details. Borderless printing may crop the image slightly because the printer enlarges it beyond the edge of the paper. Epson's borderless printing guidance recommends checking the file and producing a test print before committing to a large batch.
Check the resolution
For prints viewed at close range, 300 pixels per inch is a reliable target. Adobe describes 300 ppi as the standard for high-quality photographic printing, although larger prints intended for viewing from farther away can work at lower resolutions. See Adobe's print resolution guide. At 300 ppi, common print sizes require approximately:
| Print size | Recommended pixel dimensions |
|---|---|
| 10 × 15 cm or 4 × 6 in | 1200 × 1800 px |
| 13 × 18 cm or 5 × 7 in | 1500 × 2100 px |
| 20 × 25 cm or 8 × 10 in | 2400 × 3000 px |
Do not enlarge a small file simply by typing in a higher resolution value. Increasing the number in the file settings does not restore detail that the camera never recorded.
Review brightness and color
Screens produce their own light. Paper reflects the light around it. This is one reason a print can appear darker or less intense than the same photograph on a bright display. For important work, edit on a calibrated monitor and ask the lab for the ICC profile that matches its printer and paper. Soft proofing uses that profile to preview how the photograph may reproduce. Adobe explains the process in its soft proofing guide. If you manage color through editing software, make sure the printer driver is not applying a second color correction. Double color management can create unexpected color shifts. Adobe's printing color management instructions explain how to choose between software-managed and printer-managed color.
Option 1: printing at home
Home printing gives you direct control over the paper, color and timing. It is a strong choice for small batches, test prints, portfolio updates and photographs you want immediately. The printer matters, but paper and settings matter just as much. Use photo paper supported by your printer and select the matching media type in the print settings. That setting controls how the printer applies ink.
Before printing a full set:
- Clean or check the print heads.
- Confirm the paper size and orientation.
- Select the correct media type.
- Check whether borderless mode changes the crop.
- Print one photograph as a test.
- View the test under the light in which it will be displayed.
Glossy paper can give summer skies, water and saturated colors a bright finish, but it shows fingerprints and reflections. Lustre or satin paper is a useful general choice for portraits and albums. Matte paper has less glare and can suit quieter colors, black-and-white photographs or images that will be handled often. Home printing becomes less economical when you need many copies, unusual sizes or consistent results across a large client order. Ink usage, maintenance and rejected test prints all form part of the real cost.
Option 2: using an automated photo printer
Self-service photo kiosks are useful when speed matters. They work well for small prints, informal albums, gifts, mood boards and same-day client proofs. Prepare the file before arriving. Unless the service specifies something different, a high-quality JPEG in the sRGB color space is the safest general option for an automated workflow. Bring the photograph at the required dimensions and inspect the crop on the kiosk screen. If you have already edited the image, disable automatic correction when the machine gives you that choice. Automatic brightness, contrast or color adjustments may compete with your own edit. Order one or two prints first. Check skin tones, shadow detail and cropping before printing the full set. Kiosk screens can vary, so judge the physical test rather than the preview alone. Do not leave a memory card, cable or connected account behind. If the kiosk accepts wireless uploads, confirm that your session has ended before walking away. The main advantage is convenience. The trade-off is limited control. Paper choices, color profiles and staff support may be minimal, so a kiosk is usually better for everyday prints than for final client work or exhibition pieces.
Option 3: ordering from a professional photo lab
A professional lab is the most dependable choice for client deliveries, large wall prints, albums and work where color consistency matters. Labs may offer photographic paper, professional inkjet printing, fine art papers, canvas, mounting and framing. The number of choices can be distracting, so begin with the intended use. For family albums and portrait sets, a lustre or satin surface is a safe starting point. Gloss can suit photographs that need a bright, polished finish. Matte and fine art papers work well when texture, low reflection and a more tactile presentation matter.
Before uploading, check the lab's requirements for:
- **File format
- **Color space
- **Resolution
- **Maximum file size
- **Cropping and bleed
- **ICC profiles
- **Automatic image correction
For an important order, request a small proof or print a representative image first. Choose a photograph containing skin tones, bright colors, deep shadows and fine detail. It will reveal more about the process than an easy image with moderate contrast. A professional lab costs more than a kiosk, but it also gives you access to better quality control, more materials and help when the final result does not match the file.
Which printing method should you choose?
Use your home printer when you want control and only need a small number of prints. Choose an automated kiosk when you need standard-sized photographs quickly and can accept some variation. Use a professional lab for client work, larger sizes, albums, portfolios and photographs that need consistent color or specialist materials. You can also combine the three. Make a quick home proof, use a kiosk for casual album prints and send the strongest photograph to a lab for a larger framed version.
Better prints begin when you take the photograph
Resolution and paper cannot repair camera movement, missed focus or a group photograph in which the photographer is absent. A tripod and remote shutter solve several of these problems. The camera stays in position, and you do not have to press the shutter button by hand. More importantly, you can step into the photograph instead of spending another summer behind the camera. BT Cam lets you control your camera from your phone through Bluetooth. For a family portrait or group photograph, place the camera on a stable support, compose the scene and check the focus. Then move into position and take several photographs remotely. A short delay gives you time to lower the phone and look toward the camera. Taking a sequence also improves the chance that everyone has a natural expression and open eyes. You can choose the best frame later instead of asking the whole group to gather again. BT Cam works offline and supports more than 250 camera models across several major brands. Available controls vary by camera, so check the supported camera list before your next shoot.
Give one photograph a life outside your screen
You do not need to print the entire summer at once. Choose one photograph with a story behind it. Prepare the crop, make a test and put the finished print somewhere you will see it. On your next trip or gathering, use BT Cam to keep the camera steady and bring the photographer into the frame. When it is time to choose what to print, you may find that the photograph including everyone is the one you care about most.
Download BT Cam and prepare for your next summer photograph.
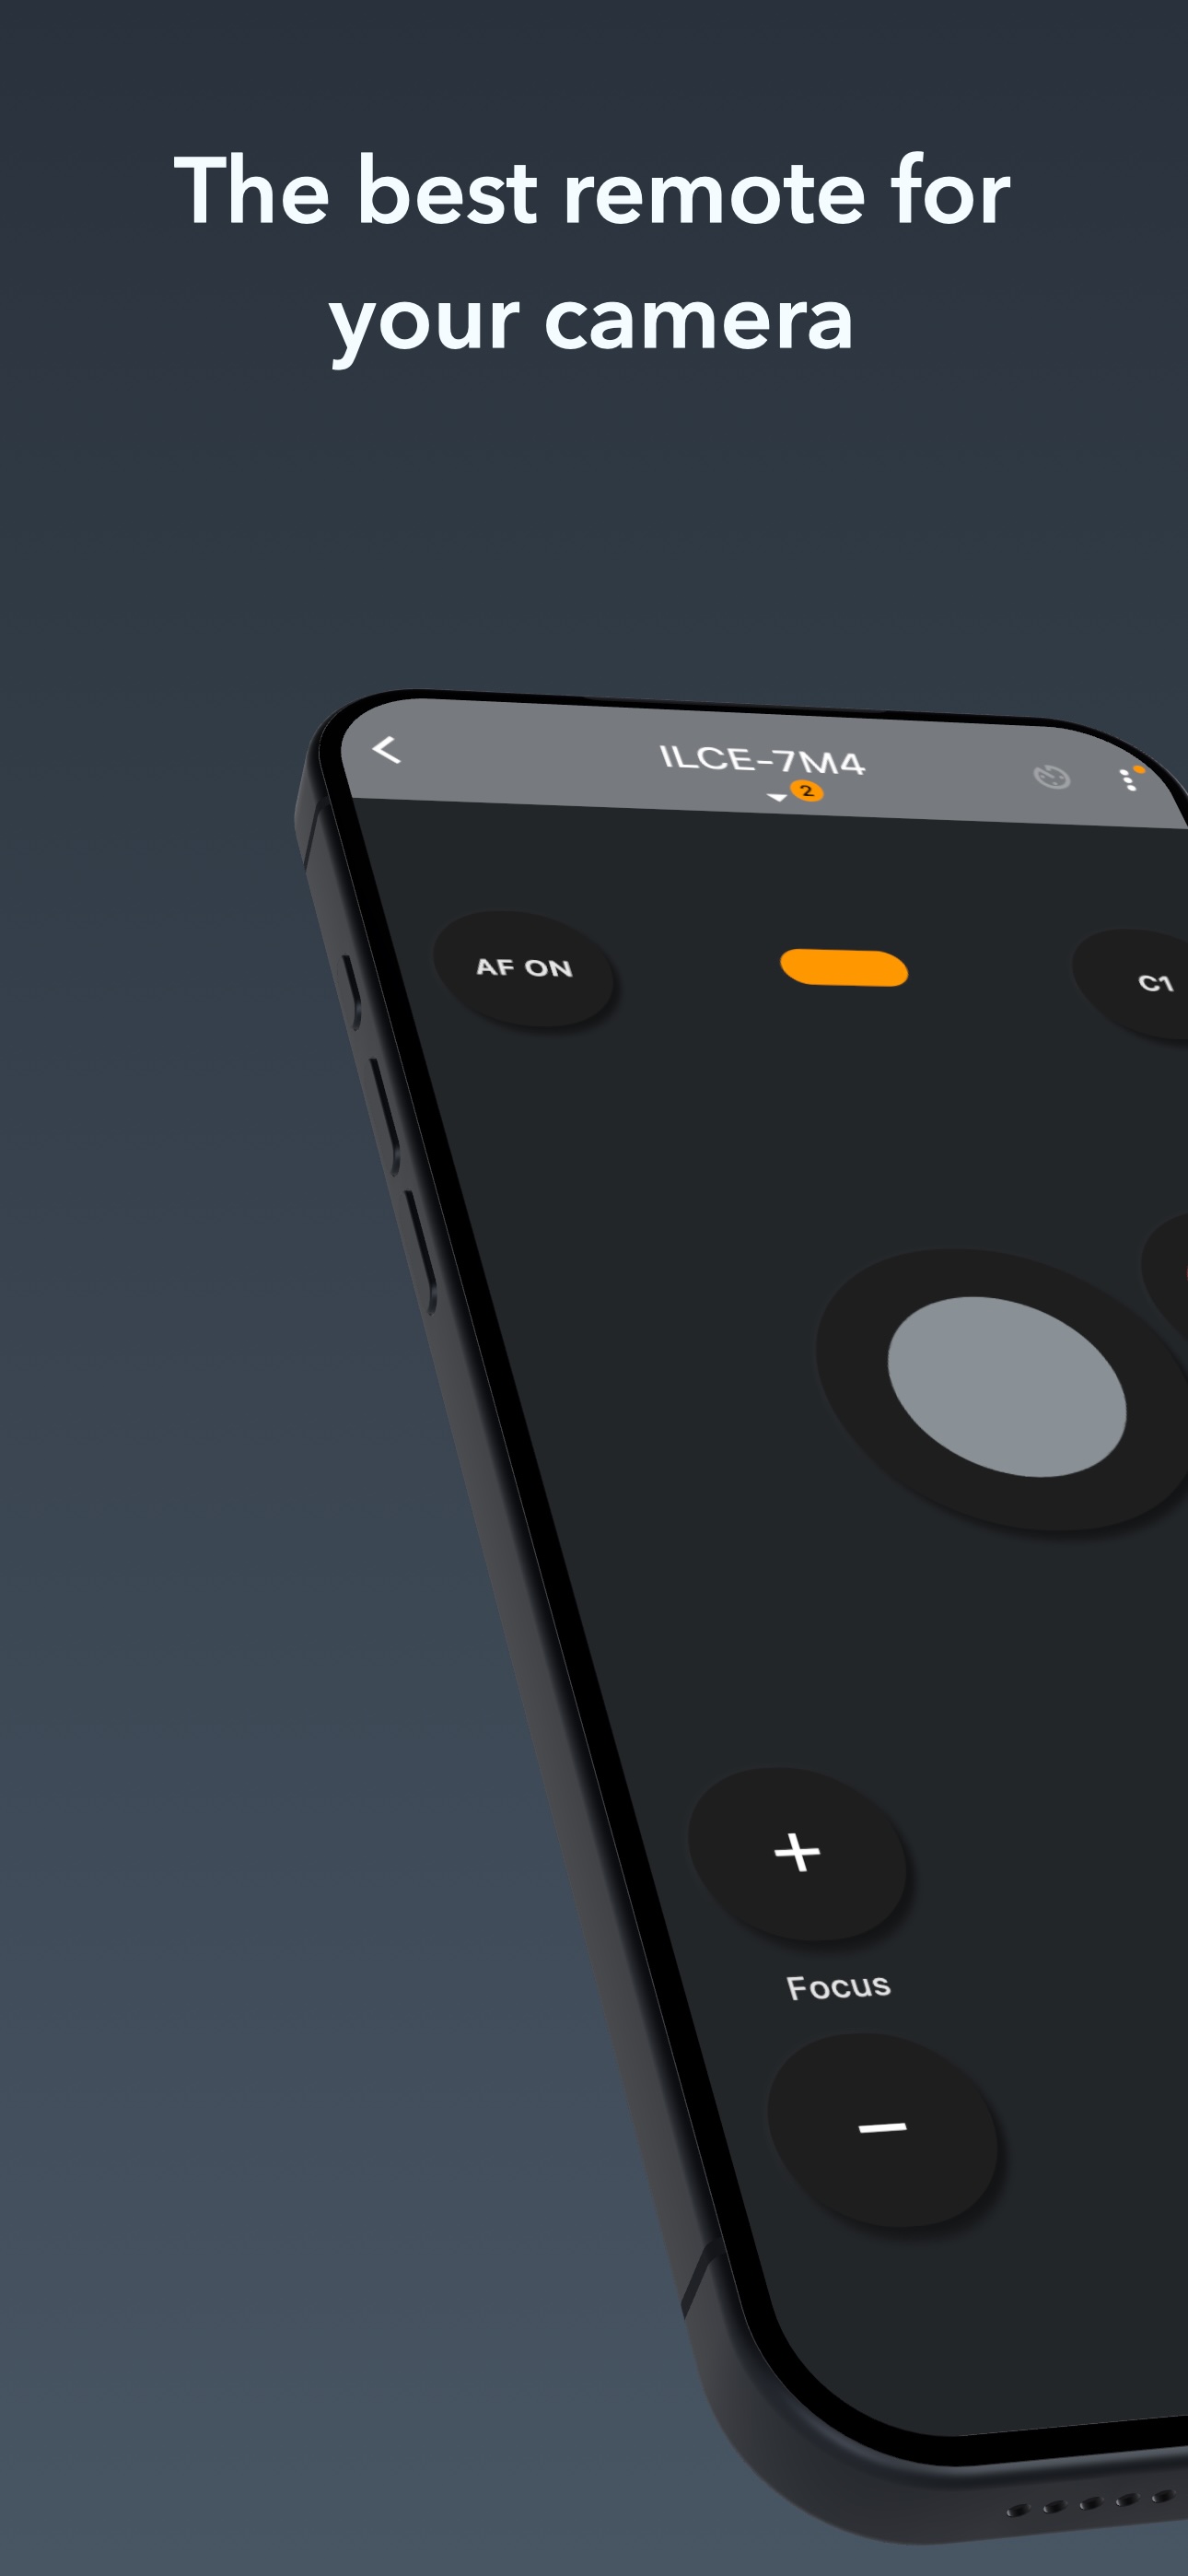
Control Your Camera with BT Cam
Take your photography to the next level with BT Cam - the ultimate Bluetooth camera control app. Connect to your camera wirelessly and unlock powerful remote shooting capabilities.
Download BT Cam